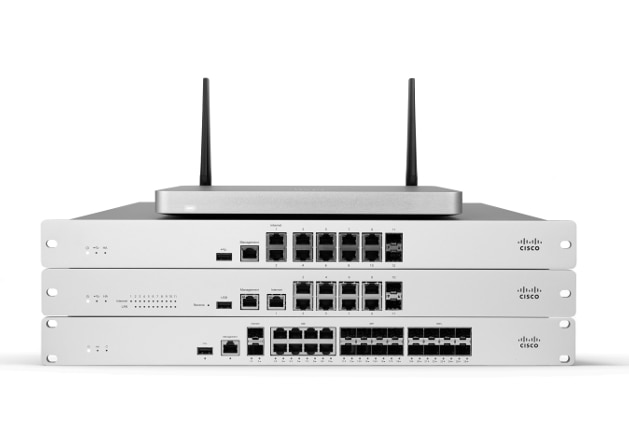
This morning, I received a notice about a Cisco Meraki MX firmware upgrade planned for a security appliance I have in my lab.
The message lists the new features:
- Layer 7 traffic classifications for VPN flow preferences
- Syslog export of AMP events
- Added support for using FQDNs in L3 firewall rule destination
- Threat Grid support for the MX60(W), MX64(W), MX65(W), MX80, MX90, MX84, and MX100 appliances
- Content filtering improvements
- Static IP assignment via Dashboard (via Appliance Status page)
- Device utilization reporting (via the new Summary Reports page)
- Performance, stability, and security improvements
This is now true: Static IP assignment via Dashboard!
I was waiting this feature since a long time.
Let’s see a real case: you send a MX security appliance to a customer; he wants to installs it on his Internet connection but his ISP does not provide a DHCP service on this link. This is often the case for business internet access here, because the customer need a static IP range, like a /30 or /29, you are supposed to use static IP assignment on your device.
To solve this, you can try to ask the ISP to enable DHCP on his CE router, or even better, to create a static DHCP entry on his router for the Meraki MX. But this is not always possible.
The alternative is to go to the customer, connect your laptop to the Mgmt or LAN port of the MX, depending of the model, and then type: http://setup.meraki.com to get a very ugly gray page, local to the MX, to be able to configure the WAN IP and DNS settings:
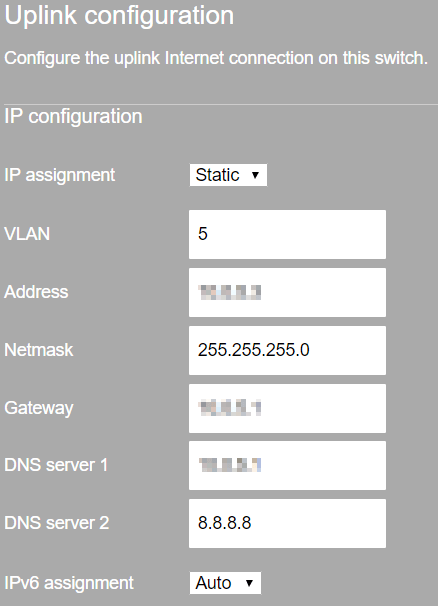
But to login to this page, you must use the serial number as username and a blank password. So, you must find the serial number on the device, probably already mounted into a rack full of others network devices, or go back to the Meraki dashboard to copy the serial number. Not very easy, right?
Now, Meraki announce you can configure the WAN IP and DNS settings directly from the Meraki dashboard. To do this, go to the dashboard, then to the Appliance status page and finally on Uplink tab. Here we can see a small pencil close to the WAN IP to change the IP settings:
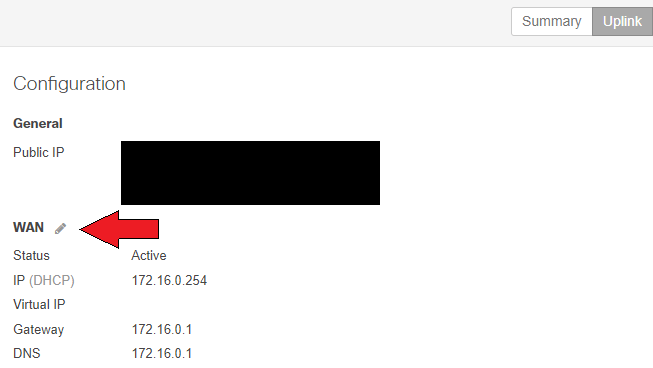
It looked great, so I wanted to test this:
As this setting is located on the appliance status page, I was not sure it is available when the device is offline. To be sure, I tried with my test device: I removed the power, waited a few minutes to see it in red into the dashboard with the message: “device unreachable”, and I changed the WAN IP from DHCP to a free static IP on the same range. I did this on the WAN-2 interface, to be sure this is also supported:
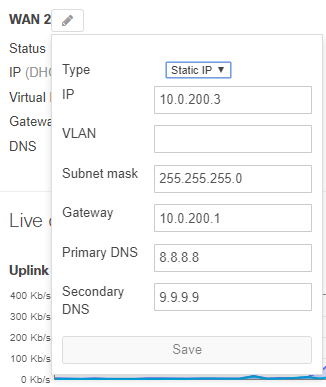
After the reboot, the appliance took this new IP and everything was working fine, great!
But does that really solve my problem? Well, yes but only partially.
Now, we can configure the MX static IP in the dashboard before deploying it. But then, the appliance still need to get this configuration. And the default WAN configuration is still in DHCP client mode.
A solution could be the customer or partner plug the WAN interface of the MX into his LAN, or into a residential internet access, like this the MX can get his configuration for the final installation. And then he connects the MX WAN interface to the right internet access. This is not perfect, but it works.
Note: I made these tests with a MX65 using MX 12.26 firmware upgraded to MX 13.28.
I Use a 4g router in WAN 2. My techs install the MX and I’m offsite programming. When I see it online I then go in and program WAN 1 with the static IP and let them plug it into the ISP.
This is a very smart technique to avoid configuration errors from the tech on site and make the installation easier.
Then, do you leave the 4G router in place, as a backup or for SD-WAN traffic, after the install?